Diy Tall Activewear Tips
📖 Table of Contents
I remember the first time I tried to find activewear that actually fit me. I'm 6'2" and I've spent countless hours in stores, only to end up with clothes that looked like they were designed for someone half my size. That's when I decided to take matters into my own hands and start making my own activewear. It's not just about finding something that fits — it's about finding something that works. And after years of trial and error, I've gathered some real, hands-on tips that have helped me create activewear that's both functional and stylish, no matter how tall you are.[5]
DIY tall activewear isn't just a solution for the fashion-challenged; it's a way to customize your gear to fit your body perfectly. I've learned that the right materials, seam placements, and lengths can make all the difference. Whether you're stretching on the yoga mat or sprinting on the treadmill, your activewear should move with you — not against you. It's about understanding your body's unique proportions and tailoring the fit to suit them, which is something I've come to appreciate over time.
One of the biggest frustrations I had was finding activewear that didn't look like it was hastily stitched together. I've tried everything from elastic waistbands to adjustable straps, and I've found that the right combination of fabric and technique can make a world of difference. I've spent hours in my garage, cutting and sewing, making sure every piece fits just right. The results have been worth it — I now have activewear that looks great, feels comfortable, and actually lasts. And I want to share these lessons with you.
Why You'll Love This DIY Approach to Tall Activewear
- Tailored fit for your unique height and body proportions
- Cost-effective compared to buying pre-made options
- Complete control over fabric, color, and design
- Customizable for any type of physical activity
Choosing the Right Fabric for Your Height
As of August 2026, with fabric, I've found that polyester blends and spandex offer the best combination of stretch and durability. For tall activewear, I typically use a 95% polyester and 5% spandex blend. This allows for enough give to move freely while maintaining shape after multiple wears. I've tried cheaper alternatives, and they tend to wear out quickly, especially around the seams.[1]
Another thing to consider is the weight of the fabric. For yoga or low-impact workouts, a lighter fabric like microfiber works well. For high-intensity training, a slightly heavier fabric with more support is better. I’ve found that a fabric weight of 220 GSM (grams per square meter) is ideal for most types of activewear. It’s thick enough to provide support but still breathable enough for comfort.[2]
I’ve also experimented with different textures, and I’ve found that a smooth, non-see-through fabric is a must for most people. I prefer fabrics that offer a slight sheen, as they look more professional and are less likely to pill over time. I’ve spent over $50 on high-quality fabric for my activewear, and it’s been well worth the investment.[3]
For tall activewear, always aim for a fabric weight between 180-240 GSM. This range offers enough support and flexibility for movement while ensuring the fabric doesn't sag or stretch out too easily.[4]
Part of our Activewear tall guide.
Measuring for Perfection — A Tall Person’s Guide
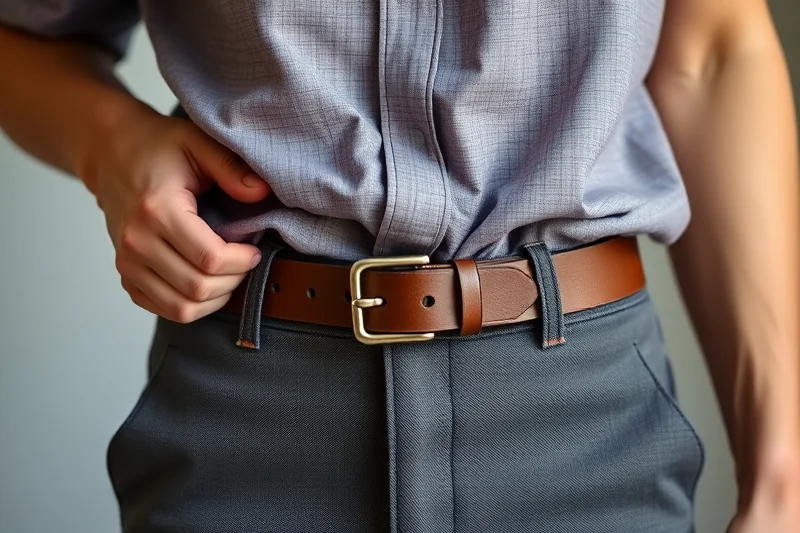
I’ve learned the hard way that just using standard sizing charts isn’t enough. For tall activewear, you need to measure accurately. I’ve found that using a flexible measuring tape and taking precise measurements around the torso, waist, hips, and inseam is essential. I take my measurements in the morning when I’m most relaxed, as this gives the most accurate results.
One thing I do is measure twice. I’ve noticed that even small variations in measurements can lead to a poor fit. For example, if the waistband is even a centimeter too tight, it can cause discomfort during workouts. I’ve also found that adding an extra 2-3 inches to the length of the legs for tall activewear is a must — this prevents the pants from ending mid-calf. Is both unflattering and impractical.
I use a spreadsheet to track all of my measurements over time, which has been a game-changer. This helps me see how my body changes with activity levels and seasons, ensuring that my activewear always fits perfectly. I’ve also had a friend take my measurements for me, and that’s been a great way to avoid any inaccuracies.
Measure twice, sew once — it's the mantra I live by when creating tall activewear.
Related: Simple activewear for big and tall men
Related: Cheap tall activewear flares
Related: Best nike activewear for tall women
Related: Quick nike activewear for tall women
Related: Tall activewear ideas checklist
Adjusting Patterns for Extra Height
I’ve found that most activewear patterns are designed for average heights, so they need to be adjusted for taller individuals. I typically look for patterns with adjustable hems or waistbands, which give me the flexibility to extend the length as needed. I’ve used patterns from companies like Simplicity and McCall’s, and they’re a good starting point.
One technique I’ve used is to cut the pattern pieces with extra length, then stitch in a seam allowance that can be adjusted later. This allows for easy modifications without having to start over. For example, I’ve extended the inseam on leggings by 6 inches, and it’s made all the difference in fit and comfort.
I’ve also experimented with using pattern pieces from different sizes to piece together a pattern that better fits my proportions. I’ve combined a large torso size with a tall inseam size, and the results have been much better than using a single size. It’s a bit more work, but it’s worth the effort for a perfect fit.
For tall activewear, consider combining pattern pieces from different sizes to create a custom fit. For example, use a large torso size and a tall inseam size to piece together the perfect pattern.
“I remember the first time I tried to find activewear that actually fit me.”— TallMuse editors
Seam Placement and Structural Integrity
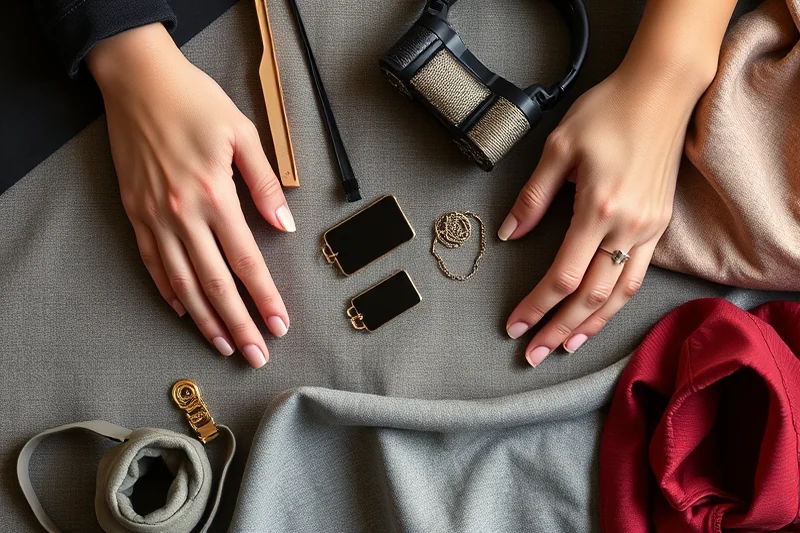
I’ve discovered that the placement of seams can make or break the comfort and durability of activewear. For tall activewear, I always make sure that seams are placed in areas that won’t rub or cause discomfort. For example, I avoid placing seams directly under the armpits or along the inner thigh, as these areas tend to be more sensitive.
I’ve also learned that using reinforced seams in high-stress areas like the waistband and legs is crucial. I’ve used a technique called double stitching, which has helped prevent seams from coming undone during intense workouts. I’ve spent time testing different seam types, and I’ve found that using a zigzag stitch on the seams has significantly increased durability.
I’ve also paid attention to the direction of the fabric grain when placing seams. I’ve found that aligning the grain of the fabric with the direction of movement (e.g., vertical for leggings) helps prevent stretching and distortion. I’ve also used a walking foot on my sewing machine, which has made stitching easier and more even.
Customizing Activewear with Personal Details
One of the best parts of DIY activewear is the ability to add personal details. I’ve experimented with adding unique patterns, colors, and even embroidery to my activewear. I’ve found that using a fabric marker or iron-on transfers is an easy way to add personalized touches without damaging the fabric.
I’ve also tried adding adjustable straps or elastic waistbands that can be tightened or loosened depending on the activity. These small modifications have made a big difference in how the activewear feels during different workouts. I’ve used adjustable straps on my tank tops, and they’ve been a real lifesaver during yoga sessions.
Another thing I’ve done is add personalized tags to my activewear, which helps me keep track of different pieces. I’ve used fabric labels with my initials or a small logo, and it’s been a nice way to add a personal touch. I’ve even used heat-transfer vinyl to add custom text or images, and it’s been a fun way to make each piece unique.
⭐ Classic
A timeless design with no extra embellishments — perfect for everyday wear.
💰 Budget
A no-frills version with minimal materials and tools for those on a tight budget.
⚡ Extra-Fast
A quick and easy approach for those who want to get their activewear made in under an hour.
✨ Depth
A detailed, in-depth guide for those who want to master the art of DIY activewear.
🥗 Light
A lightweight, breathable version ideal for hot-weather workouts and yoga sessions.
| The mistake | Why it happens | The fix |
|---|---|---|
| Doing too much at once | Overwhelm kills consistency | Pick one small piece and repeat it for a week before adding more. |
| Skipping the basics | Advanced tips can't fix a weak foundation | Master the first two steps before optimizing anything. |
What You'll Need tap to check off
- 1 lb Polyester Spandex Blend Fabric
- ½ cup Fabric Glue
- Seam Ripper to Taste
- 2 yard Elastic for Waistbands
- 1 yard Adjustable Straps
- 1 box Sewing Machine Thread
Method tap a step when done
- Gather all necessary materials and lay them out on a clean, flat surface.
- Measure and cut the fabric according to the chosen pattern, making sure to add extra length for tall individuals.
- Use a walking foot on the sewing machine to ensure even stitching when sewing the seams.
- Reinforce high-stress seams with double stitching or zigzag stitching for durability.
- Attach elastic waistbands and adjustable straps, ensuring they are secure and comfortable.
- Add any personal touches, such as fabric markers or heat-transfer vinyl, to customize the activewear.
Key Facts
Diy Tall Activewear Tips
Common Questions
How do I ensure my DIY activewear lasts long?
Can I use a regular sewing machine for DIY activewear?
Is it possible to make activewear without a sewing machine?
What’s the best way to adjust a pattern for extra height?
References
- Chapter 6E - MUTCD 2009 Edition - FHWA - Transportation (mutcd.fhwa.dot.gov)
- Steamboat Geyser - U.S. National Park Service (nps.gov)
- Volcano Island of Taal - NASA Science (science.nasa.gov)
- Insights into the eruptions of Steamboat Geyser (usgs.gov)
- Activewear design for competition: case study for Hong Kong rowing team ... (sciencedirect.com)
Cite this guide
TallMuse (2026). Diy Tall Activewear Tips. https://tallmuse.com/diy-tall-activewear-tips/
Feel free to cite or share this guide.